Quick Start Guide
Envizor P3-S Air Quality Monitoring Station

Greg Ringo
Last Update 4 jaar geleden
1, 2, 3!
You’ll be making 3 types of connections. Remember to double-check each before closing the door.
Outside the enclosure
Important Note: If you are using external power, it should be set up first and remain disconnected while working inside the enclosure.
Battery and Solar Panels
1. Place the panels facing south-southwest towards open sky.
2. Secure the black ring terminal of the enclosure power cable to the negative terminal of the battery. Secure the red ring terminal of the enclosure power cable to the positive terminal of the battery.
3. Attach the solar panel clips to the posts.
4. Finally, attach the power connector from the battery to the enclosure.
5. REMEMBER: Always disconnect power before opening and working in the enclosure.
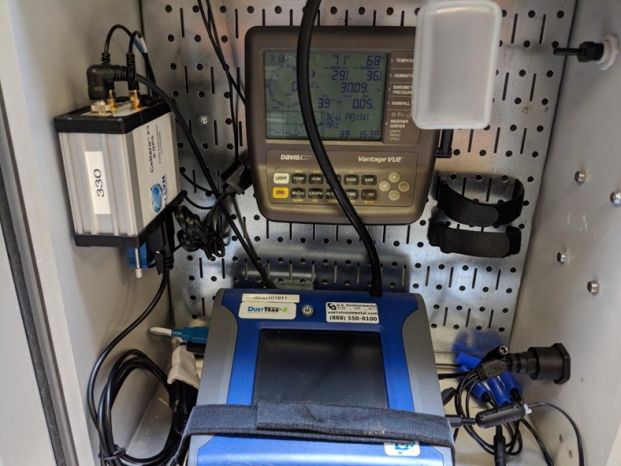
Inside the enclosure
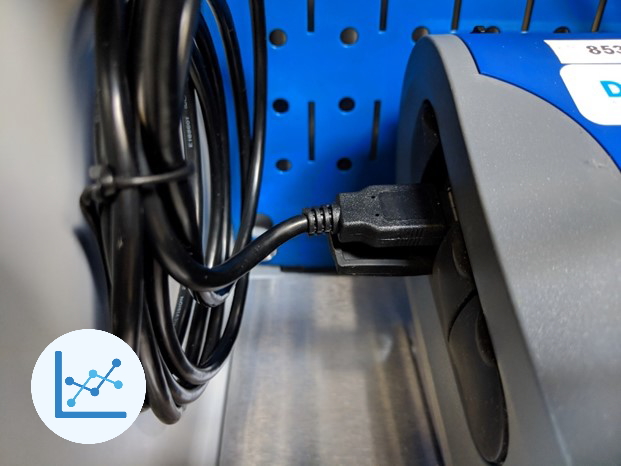
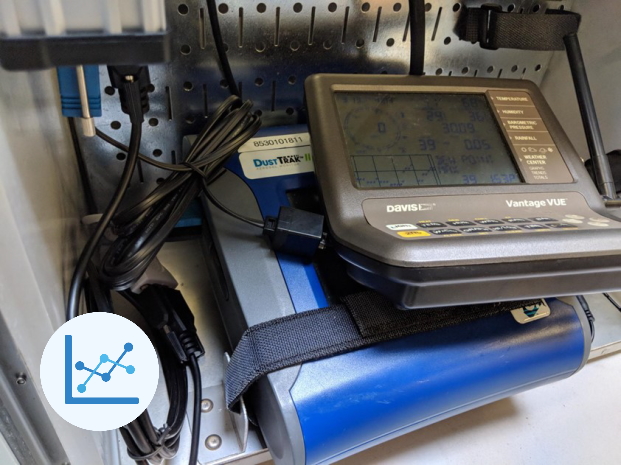
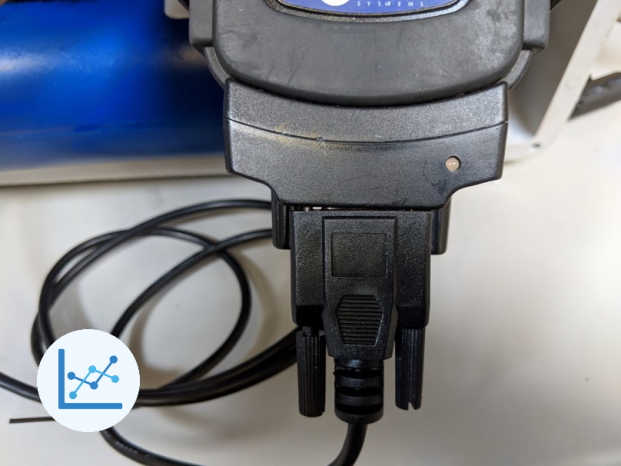
1. Place DustTrak on the bottom plate and secure it. Connect the communication cable assembly.
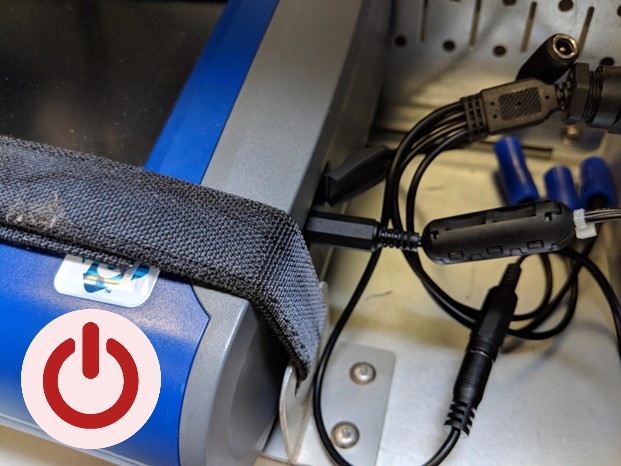
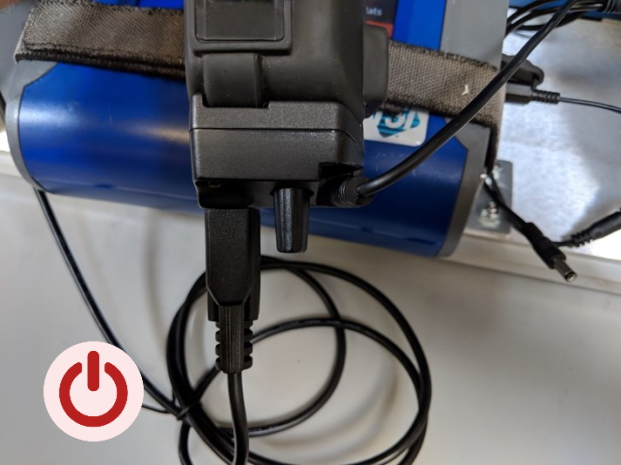
2. Connect the power cable assembly on the right side of the DustTrak.
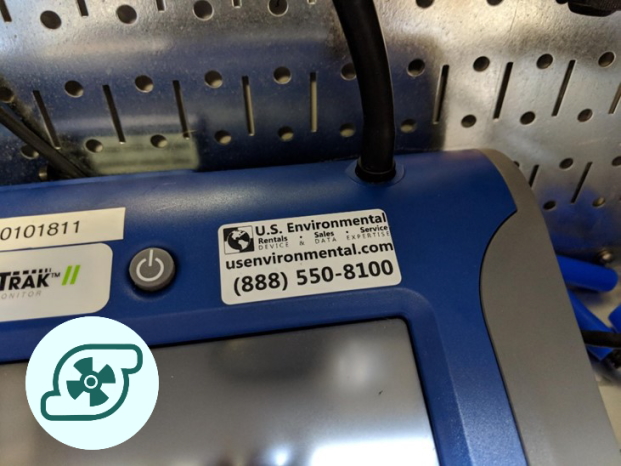
3. Connect the inlet tube.
4. Connect the weather console's communication cable.
6. Connect the PID's charging adapter to the communication cable.
8. Connect the gas inlet at the top of the PID.
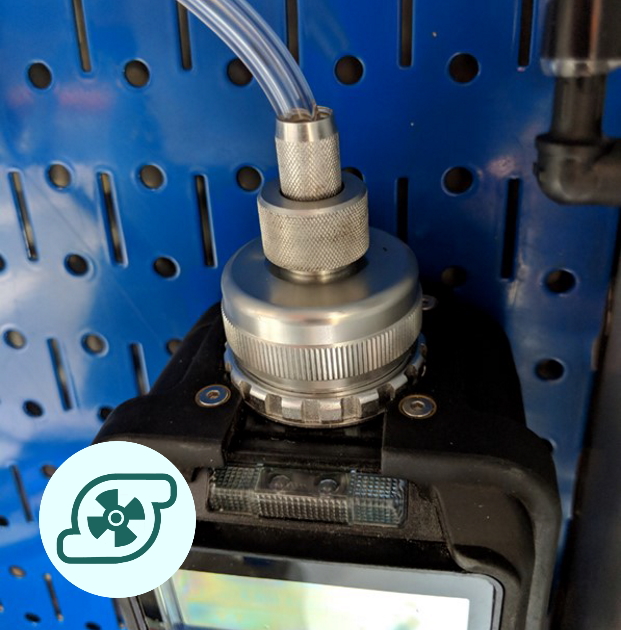
9. Affix the PID to the backplate.

10. Confirm that the Envizor modem is connected to one of the 4 power connectors.
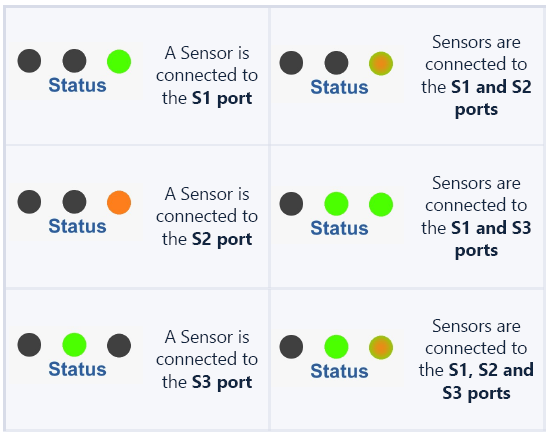
Watch the lights!
Once you have connected everything to a power source, the modem will turn on. The DustTrak should also turn on automatically. You will need to press the power button on the PID to start it. Then, start watching the Status lights on the modem.
The Network Light
It's going to be flashing!
